Monday, April 1, 2013

Dough Gods

Years ago, when Amy was staying at Auntie Dodo's in the summer, Dodo taught her the art of making Dough Gods, simply, fried bread dough. Such a wonderful thing to teach a young girl, and even better when you teach that girls mom, ME!!!! Now, finding an easy bread dough recipe can be hard, but ever since I got my Kitchen Aide stand mixer about 14 years ago, I have had it easy. I simply let my mixer do all the work, the mixing and the kneading, as I simply stand by and watch. And the recipe??? its the basic white bread recipe from the little recipe book that came with the mixer. Now, don't get me wrong, making bread is a time consuming ordeal, as is the dough gods, so this is a special occasion treat, always on Christmas morning, and Easter morning, and sometimes, depending on when your birthday falls, like on a weekend or day off, you may just get them then. It is so much a part of our lives, our traditions, that I couldn't imagine what it was like before they were apart of our lives.

Letting the mixer do all the work, just stand around and
wait for the dough to be ready to transfer into another bowl.

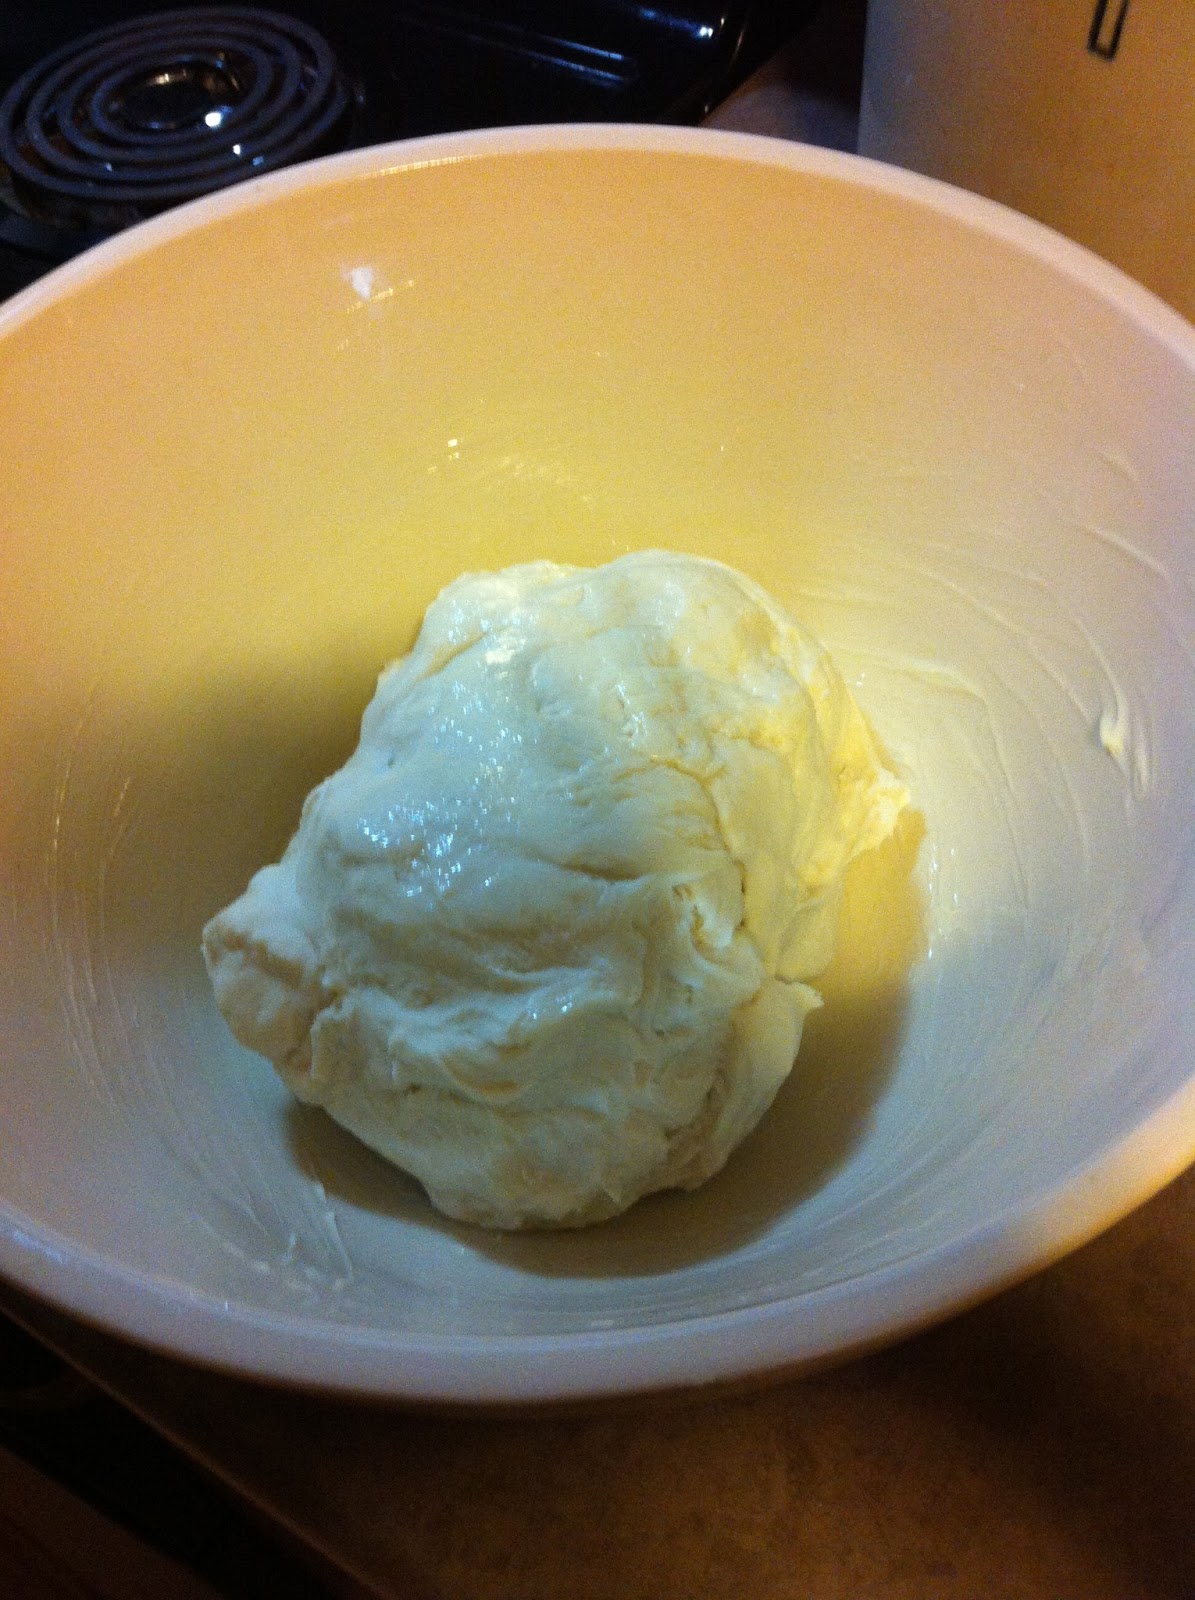
Add the dough to a well greased bowl, butter only, and
once the bottom is greased, flip over the dough, cover with
a tea towel and keep in a warm spot. 

In about an hour or so, the dough should have at least
doubled in size, and is ready to be punched down and
cut into good sized chucks to start the frying process.

Once the oil has heated to a good frying temperature,
no I don't use a thermometer, I just eye ball it, and
know that I can't increase the heat on the stove
to over about med high, and no lower then med.
As they fry, I flip them over a few times, not letting
them brown, but just start to look golden, before
taking them out, and putting them in the oven
to keep warm on a paper towelled cookie sheet.

Sometimes, I will get a small tear in my dough as I am
stretching it, simply just roll it back into a ball and
start the stretching process all over again, Once stretched
carefully place into the oil, I don't like to crowd the
pan as it will cool down the oil too much.

I keep them warm in the oven, usually at about 170 degrees,
so that we can all sit down to eat at the same time.
It is important to only fry them until they just start to
turn golden, any longer and they will become
crispy instead of soft and chewy.

Butter and cinnamon sugar is best on these, as it melts
on the warm dough and is super yummy. My hubby doesn't
like cinnamon sugar, so enjoys them with butter and jam,

Depending on how many dough gods I make, I usually make
4 per person, there is usually enough dough to form into
a loaf, and after another rising in a greased loaf pan,
I bake it off later in the day to have with dinner.

Who doesn't like a warm slice of fresh bread right out
of the oven. Never mind the wonderful smell
that permeates the house while it bakes.


The recipes is as follows......

1/2 cup of milk
3 tablespoons of granulated sugar
2 teaspoons of salt
3 tablespoons of butter or margarine
2 packages of active dry yeast ( I use the quick rise one)
1 1/2 cups warm water (105 to 115 degrees F)
5 to 6 cups of flour

Combine milk, sugar,salt and butter in small saucepan. Heat over
low heat until butter melts and sugar dissolves. Cool to lukewarm.

Dissolve yeast in warm water in warmed bowl. Add lukewarm
milk mixture and 4 1/2 cups of flour. Attach bowl and dough hook,
turn to speed 2 and mix 1 minute. Continuing on speed 2, add 1/2 a
cup of flour at a time, until the dough clings to hook and cleans the side
of the bowl. Knead on Speed 2 for 2 more minutes, dough will be 
slightly sticky to the touch. Turn into grease bowl and let rise.

Monday, February 11, 2013

Project Life 2013 - Week 5

Week 5, a transition between the month of January
and February, so I've include my clear, month divider 
between the two pages. I have yet to do my monthly
summary yet, but will post it when I do.

The full week's spread. Liking this color combo as well. Slowly getting
used to the limited selection that the Cherry Edition is offering me. I
really wished I had held off in my ordering of this years kit, as newer,
better choices are now available, closer to my style and liking, but
this is what I have for the year, and I will adapt, and probably start
liking it at some point....I'm hoping anyways.

This week had hardly any photo's to share, as 4 of the days I was
out of it with a migraine, and feeling rather crappy. So lots and
lots of journaling for the week. I do like the way, that, by using the
same journaling card all the through the middle sections looks.

As the week came to a close, we had more stories to share, and
as I was finally feeling better, managed to take enough photos
to help tell these stories.

December Days - Day 26

This is the last posting for my December Days as another Christmas season has come to an end. Now I can focus on actually putting together my physical December Daily Album.

Today is Boxing Day, and like last year, we went shopping, but unlike last year, where I included our shopping adventure in my album, I decided to do a focus on all the food, those that have become traditional, and allow us to look back in the future to see what has stayed the same and what, if any, have changed.

Our typical, traditional, food assortment for Christmas Eve, and then
lots of nibbling on the same foods through New Year's Day.
Always make Linda's fruit salad each holiday season,  it's just as important
as all the other holiday fixings. A must on our table.
The turkey, perfectly roast, well, not this year, it was a bit dry, but the
skin is my favorite part anyways, so perfectly crunchy for me.

Then the stock is made, and ready for the morning, so I can get a batch
of turkey soup ready for dinner to go along with our turkey sandwiches.
a great way to end our shopping day here on Boxing Day.


Project Life - Week 4

Week 4, lots of photos taken this week, lots of little stories to share.

This weeks full view, did some stamping on the journaling
cards, and liking the yellow, even though I am not a fan
of the yellow, it works off the colors in the photos.

A close up of the left hand side. Did some stamping, and added a bit
of my own handwriting, something I was encouraged to do by an IG
friend. Never have liked my handwriting, so this is a big deal to include
 
Did some journaling directly on some of my photos, and then
just used the big 4 x 6 cards to share most of the week's events.
Lots of photos again this week. 


Project Life - Week 3

Week three, my favorite in the album to date, I just
love the flow, the red and the way the circle cards
work in a line. This will be a color combo I use again.

The full view of the spread for the week.

The left side, still loving those circle journaling cards, and how
well placing the date on them worked for this week.

The right side, with lots of photos for the week, and
a good amount of journaling as well. I really like this red.


Project Life 2013 - Week 2

Week two of Project Life. Getting used to the new
color choices of the Cherry Edition, as compared
to the colors I loved using in last year's album,
which were from the Clementine Edition.

Loving the flow of this week.

A close up of the journaling and photos on the left hand side.
(if you click on the photo, you can bring it up in a seperate window
and then make it larger to easily read the journaling)

Not very many photos from this week, so used a lot of journaling cards
to fill up the spaces and to tell more of our stories.

Project Life 2013 - Week 1

This first week of January, is a short week, but I 
still wanted my Project Life weeks to run from 
Sunday thru Saturday, so I started on the 1st which
was a Tuesday and went to the 5th, the Saturday.

A look at the whole week spread.

A close up look at the left hand side, and all the photos are from our
outing on New Years up into the snow covered mountain range
in Mission with Michelle and Jason so do some shooting.

A close up look at the right hand side, with some photos to document
what consisted of our week, and a big 6x12 side with 2013 as the highlight.